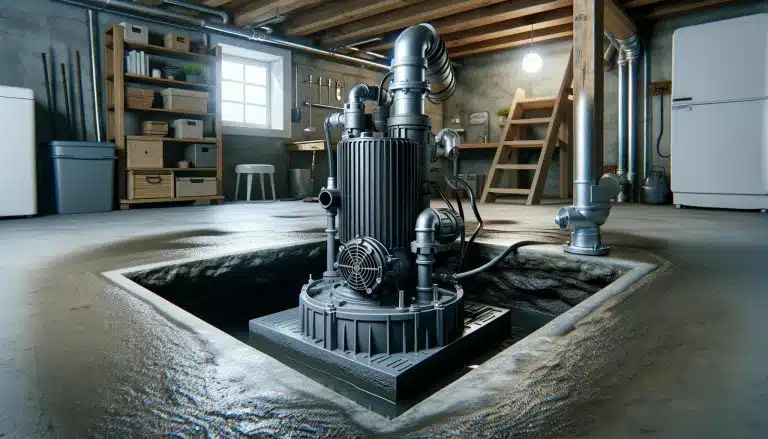
A well-maintained yard is a major source of pride for most homeowners, but standing water from a basement or crawl space can turn any landscape into a mushy mess – and it happens far more commonly than you might imagine.
This is where a French drain installation is not just ‘handy’ but an overlooked necessity. French drains are a discreet and highly effective solution designed to divert water away from your home’s foundation and prevent the nightmare of waterlogged gardens.
In this blog post, we shall guide you through how to install a French drain in your yard. Whether you’re looking to protect against basement dampness or even just create a more beautiful outdoor space, understanding how to build a French drain and knowing what a French drain does are your first significant steps toward a drier, more comfortable, disaster-free home environment.
Why Install a French Drain?
French drains are more than just a solution for keeping your basement dry – they are a prerequisite for any homeowner looking to protect their property against the perils of water damage. By appropriately directing water away from your home, a French drain install can prevent the long-term headaches of water accumulation, including mold, wood rot, and foundation cracks.
You will need to know how deep a French drain should be, as they are often dug too shallow, resulting in water not being diverted properly and your home not always dry. We will cover that (and more) as we explain in detail how to install French drain systems.
Follow our guide to the latter, and you will enjoy a drier basement, a healthier home environment, and solid peace of mind during heavy rains.
Materials and Tools Required
You will need several materials and tools to get going with your French drain installation, including a perforated drain pipe, gravel, landscape fabric, a shovel, and striping spray paint for marking.
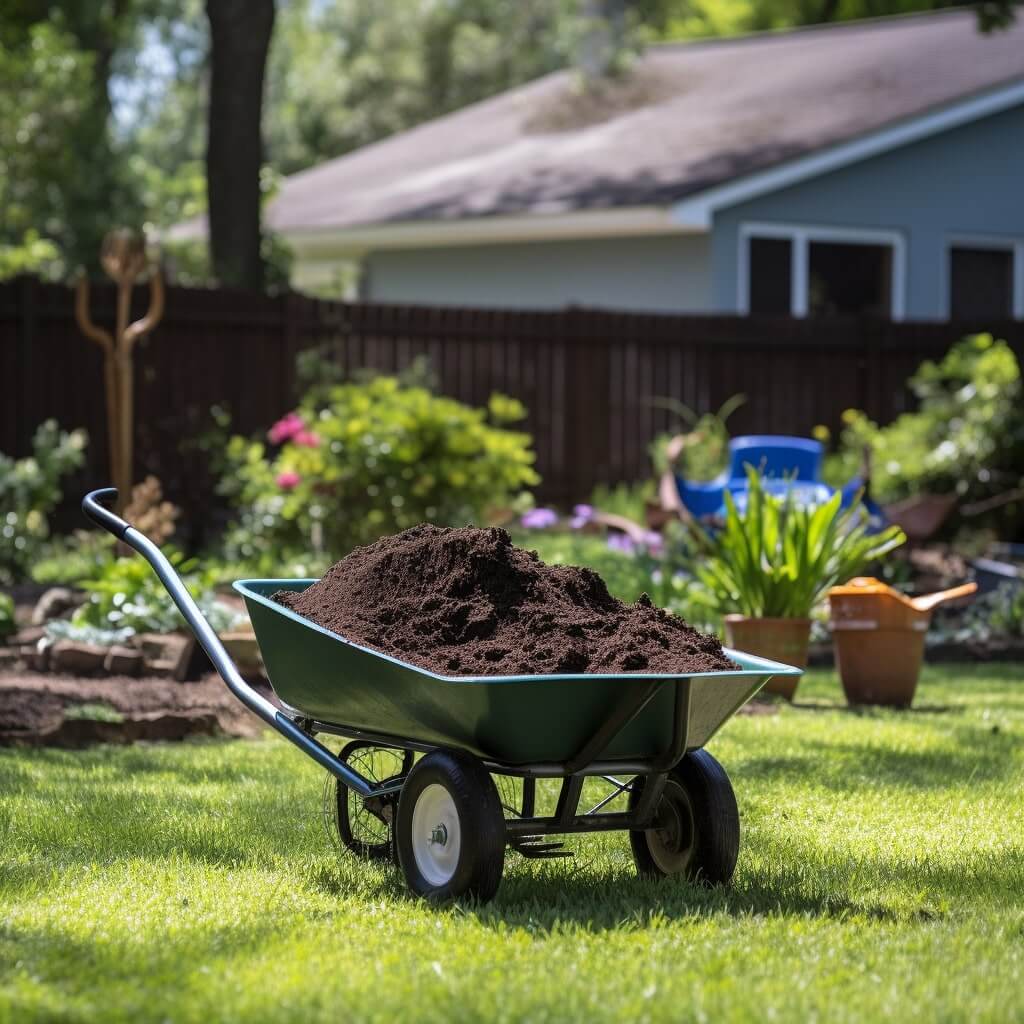
The size of the drain pipe and the amount of gravel required will depend on how deep your French drain needs to be and the length of the area you’re covering – you also need to provide enough landscape fabric to cover the trench adequately. While these are the essentials, additional tools like a wheelbarrow and gloves can make installing a French drain process smoother.
Planning Your French Drain
Effective planning is key to a successful French drain installation, starting by identifying the most saturated areas or the points where water collects around your foundation or sump pump. Then, decide on the endpoint where the drain will redirect the water (usually a street, sewer, or garden bed).
The route must have a consistent downward slope (commonly a 1% grade) to ensure the water flows away from your house. Be mindful of one thing, however: knowing how to install a French drain in your yard requires careful thought to avoid utilities and optimize water rerouting.
As for exactly how deep French drains should be, the golden rule is generally 18 to 24 inches, allowing for adequate water capture and flow.
With those general aspects out of the way, let’s take a look at the step-by-step guide for how to install a French drain.
French Drain Install
1. Marking the Area
Use spray paint to mark the planned route of your French drain, being mindful that the path has a consistent downward slope for water to flow effectively. Consider the overall layout of your yard, aiming to keep the drain at least 6 feet from the foundation and avoid any underground utilities or tree roots.
2. Digging the Trench
Dig along the marked path to create your trench, aiming for approximately 6 inches wide and 18-24 inches deep (depending on your specific drainage needs and how deep your French drain needs to be). This is the most labor-intensive part of installing a French drain, but getting the depth and width right is crucial for adequate drainage, so no shortcuts here!
3. Adding Gravel and Fabric Lining
Once your trench is dug, lay down a 2-3 inch base layer of gravel to help with water filtration and prevent the pipe from clogging. Then, lay your landscape fabric over the gravel, ensuring it lines the entire trench with extra fabric on the sides to cover the top later.
This is arguably the most important part of how to build a French drain, as it sets the foundation for effective water filtration and drainage.
4. Laying the Pipes
Place the perforated drain pipe on top of the fabric-lined gravel bed with the holes face down to stop clogging and improve water capture.
This part of how to make a French drain requires more precision than you might realize: ensuring the pipe lays flat and follows the trench’s slope can take some fiddling around to get perfect.
5. Covering with Gravel and Fabric
Once the pipe is in place, cover it with more gravel while leaving five or six inches from the top of the trench. Then, just fold over the excess landscape fabric on the gravel, creating a filtration barrier to keep the drain free from debris and silt.
6. Topsoil and Landscaping
To finish, cover the fabric with topsoil, returning the trench area to its original neat look – you can also plant grass to help the area blend naturally with the rest of your yard if you want to.
Bottom Line

Installing a French drain may sound like a complicated construction job, but the truth is that most homeowners can tackle the project themselves, completing it in a day or two.
Alternatively, if you need professional help installing a French drain, contact Envirosmart Solutions. Through our extensive Insulation Services covering air duct & dryer vents, HVAC Services, and attic & crawl space services, we happen to know a thing or two about installing a seamless and effective French drain.
For support or a fast quote, contact Envirosmart Solution at (206) 295-5925 or reach out by email today!