When diagnosing roof and attic issues, thermal imaging and blower door tests are two key tools that serve different purposes but work best together. Here’s what you need to know:
- Thermal Imaging: Uses infrared cameras to visually detect temperature differences, helping identify heat loss, insulation gaps, and moisture issues. It’s quick, non-invasive, and great for spotting hidden problems but requires a temperature difference between indoor and outdoor environments.
- Blower Door Tests: Measures overall air leakage in your home by pressurizing or depressurizing it with a calibrated fan. Provides precise data on airtightness and energy loss but doesn’t pinpoint specific leak locations.
Quick Takeaway: Thermal imaging shows where problems are, while blower door tests measure how much air is escaping. Together, they deliver a complete picture of energy inefficiency and structural concerns.
Quick Comparison
| Feature | Thermal Imaging | Blower Door Test |
|---|---|---|
| Function | Visualizes heat and moisture issues | Measures total air leakage |
| Data Type | Qualitative (visual) | Quantitative (CFM50, ACH50) |
| Weather Sensitivity | High (needs temp difference) | Low |
| Cost | $150–$200 | $200–$250 |
| Duration | Varies by size | ~1.5 hours |
| Best Use | Spotting leaks and moisture | Ensuring airtightness |

Thermal Imaging vs Blower Door Test Comparison Chart
Blower Door Assisted Thermal Imaging
What is Thermal Imaging?
Thermal imaging relies on infrared cameras to detect heat patterns that aren’t visible to the naked eye. These cameras produce a thermogram by capturing surface heat, offering a way to visualize temperature differences across areas like roofs, attics, and walls. Unlike standard cameras that record visible light, thermal imaging cameras focus on the heat spectrum, making them an essential tool for identifying energy inefficiencies.
"Thermal imaging cameras… measure heat emitted by objects. In other words, thermal imaging ‘sees’ differences in temperature within the camera’s field of view." – Randy Williams, Builder and Energy Auditor
The results are displayed as color gradients, where hotter areas appear white or bright colors, and cooler regions show up as black or dark blue. This contrast makes it easier to spot issues like heat loss or moisture affecting insulation.
How Thermal Imaging Works
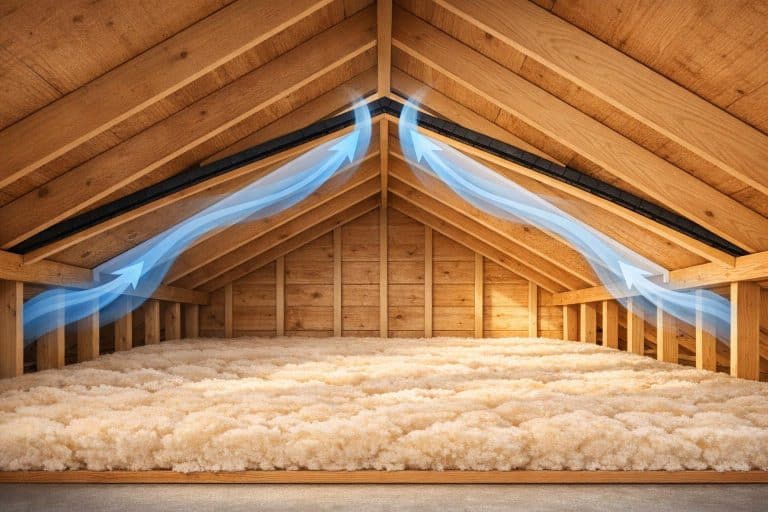
When an infrared camera scans a surface, it generates a temperature map. For example, air leaks show up as streaks or feathers, indicating where outside air is cooling (or heating) a surface. Similarly, poorly installed or missing insulation appears as distinct shapes that align with framing cavities. Water leaks, on the other hand, are identified by evaporative cooling – wet spots look colder than dry ones.
To get accurate results, a temperature difference (Delta T) of at least 10°F is needed, with 15°F–20°F being ideal for energy audits. Scans are most effective during the heating season in winter or the cooling season in summer when indoor and outdoor temperatures vary significantly.
Pairing thermal imaging with a blower door test enhances its effectiveness. Depressurizing a house forces outside air through leaks, making them more visible on the thermal camera as dynamic color changes. This combination helps differentiate between static insulation problems and active air leaks, providing clearer insights into a building’s energy performance.
Advantages of Thermal Imaging
Thermal imaging offers a range of benefits for inspecting roofs and attics. One major perk is that it’s non-invasive – there’s no need to tear into walls or remove insulation to uncover hidden issues. Additionally, the process is quick, allowing large areas to be scanned efficiently.
The color-coded visuals are straightforward, making it easy for homeowners to understand the results without needing technical expertise. Some modern cameras even include "Picture-in-Picture" modes, which overlay thermal images onto standard photos, helping pinpoint problem areas precisely.
Another advantage is early detection. Wet insulation conducts heat faster than dry insulation, so thermal scans can identify roof leaks before visible damage occurs. Catching these problems early can save money by addressing them before they escalate.
Drawbacks of Thermal Imaging
Despite its benefits, thermal imaging does have limitations. For one, it cannot see through walls – it only measures surface temperatures. Additionally, it doesn’t directly detect moisture; instead, it identifies the temperature changes caused by damp materials.
"A thermal imaging camera cannot see through walls… Thermal imaging cameras are a type of infrared (IR) camera that measures heat emitted by objects." – Randy Williams, Energy Rater
Another challenge is the need for a sufficient temperature difference. If indoor and outdoor temperatures are too similar, the thermal image lacks contrast, making it hard to spot defects. Weather conditions also matter – high winds can distort thermal signatures, and direct sunlight may obscure temperature differences on exterior surfaces.
Reflective materials like metal, mirrors, and glass can complicate readings by bouncing infrared radiation rather than emitting it. Inspectors often work around this by applying black tape to reflective surfaces for more reliable measurements. Lastly, while thermal imaging reveals where problems exist, it doesn’t provide exact measurements of air leakage rates or quantify energy loss. These limitations highlight the importance of using thermal imaging alongside other diagnostic tools, like blower door tests, for a more complete picture.
What is a Blower Door Test?
A blower door test is a tool used to measure how airtight your home is by determining the volume of air leakage. While thermal imaging shows where temperature differences occur, a blower door test provides precise measurements of air escaping through gaps and cracks over time.
"A blower door test is a diagnostic tool used by energy auditors and certified contractors to measure how airtight your home is." – U.S. Department of Energy
The setup includes three key components: a calibrated fan, a flexible panel that fits into an exterior doorway, and a digital manometer to measure pressure differences. The fan either pulls air out of the home (depressurization) or pushes air in (pressurization), creating a controlled pressure environment that reveals unsealed areas in the building envelope.
The test operates at a standardized pressure of 50 Pascals (Pa) – similar to a 20 mph wind pressing against the house from all sides. This controlled condition makes even small leaks detectable. Secondary tools like smoke pencils or infrared cameras help technicians pinpoint specific areas of air leakage.
Results are expressed in two main metrics: CFM50 (Cubic Feet per Minute at 50 Pascals), which measures the air leakage rate, and ACH50 (Air Changes per Hour at 50 Pascals), which indicates how often the air in your home is replaced under test conditions. A professional blower door test typically costs between $300 and $500 as part of a home energy audit.
How Blower Door Tests Work
The most common method is depressurization, where the fan pulls air out of the home. This approach mirrors natural air infiltration patterns and minimizes risks like backdrafting from combustion appliances. As the internal pressure drops, outside air forces its way in through gaps and cracks in areas like the attic, walls, and foundation.
Before testing, all exterior openings must be closed, interior doors left open, and combustion appliances turned off to ensure safety and even pressure distribution. The process takes about an hour, during which technicians monitor pressure readings and use tools like smoke pencils to trace air movement. For instance, in December 2022, Paul Cutting of the Winneshiek Energy District identified air leaks in a mid-century home by spotting cold air entering through beveled ceiling edges during a depressurization test. The homeowner sealed these gaps with caulking.
"A blower door test tells how tight a house is, and the blower door also helps pinpoint air leaks." – Marc Rosenbaum, P.E., Energysmiths
Less commonly, pressurization is used to push air into the home, which can help detect areas where air escapes. In some cases, both methods are used to get a complete picture of airflow.
Advantages of Blower Door Tests
One of the biggest benefits of blower door testing is its ability to provide precise, measurable data. Unlike thermal imaging, which offers visual clues, this test quantifies air leakage in cubic feet per minute, allowing homeowners to track improvements after sealing gaps. It also ensures compliance with energy codes.
Since the 2015 International Energy Conservation Code (IECC), blower door tests have been required for new residential construction in the U.S. Homes in warmer climates (Zones 1-2) must achieve 5.0 ACH50 or less, while those in cooler climates (Zones 3-8) must meet 3.0 ACH50 or less.
Sealing air leaks based on test results can lower heating and cooling costs by 10% to 40%, with most investments paying off within 3 to 7 years. Test results also classify homes by tightness: a "very tight" home typically measures under 500 CFM50, while a "leaky" home exceeds 3,000 CFM50.
Drawbacks of Blower Door Tests
Despite its accuracy, blower door testing does come with a few challenges. For one, it requires professional setup and certification. In many areas, only certified technicians, such as HERS Raters or Acceptance Test Technicians (ATTs), can perform tests for code compliance or rebates. This means DIY testing isn’t an option if official results are needed.
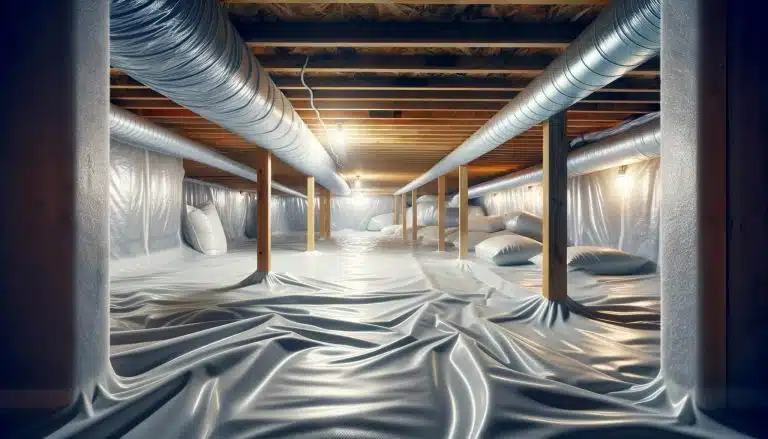
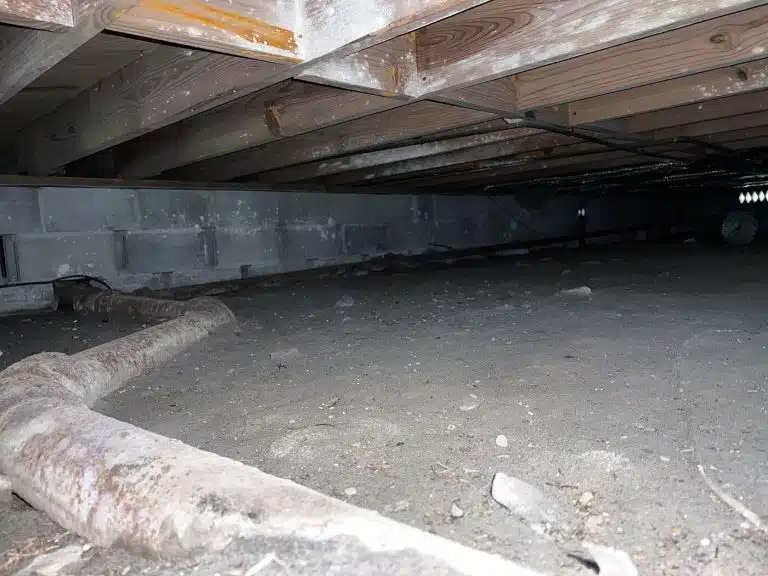
The test can also be disruptive. It requires access to all parts of the home, including attics and crawl spaces, and the heating and cooling systems must be turned off during the process. Plan for at least an hour when the house must remain sealed.
It’s also important to distinguish between calibrated and uncalibrated blower doors. Calibrated systems measure exact air leakage rates, while uncalibrated ones only locate leaks without providing quantitative data. Always ensure that a calibrated blower door is used for accurate results.
While weather conditions don’t affect blower door testing as much as thermal imaging, preparation is still key. Fires must be extinguished, HVAC systems turned off, and the building envelope completed before testing begins. These steps ensure the test provides accurate and actionable results, paving the way for effective energy-saving measures.
Thermal Imaging vs. Blower Door Tests: Direct Comparison
When it comes to diagnosing roof and attic issues, both thermal imaging and blower door tests play essential yet distinct roles. Blower door tests focus on providing quantitative data about air leakage, such as CFM50 or ACH50 measurements, which are valuable for tracking improvements over time. On the other hand, thermal imaging shines in visually identifying where leaks occur by creating temperature maps, known as thermograms, that highlight problem areas.
While each method has its strengths, they work best together rather than as substitutes. Blower door tests deliver hard numbers, while thermal imaging provides a visual context.
"Using a blower door with an infrared camera is an incredibly easy way to locate air leaks."
– Paul Cutting, Energy Planner, Winneshiek Energy District
For roof and attic diagnostics specifically, thermal imaging is excellent for spotting moisture problems and insulation defects, while blower door tests assess how effectively the building envelope prevents air loss. When used simultaneously, these methods complement each other. Depressurizing a building during a blower door test amplifies the effectiveness of thermal imaging, making leaks and insulation gaps even more apparent. This combined approach is why many energy auditors rely on both tools during inspections.
Comparison Table
| Feature | Thermal Imaging | Blower Door Test |
|---|---|---|
| Primary Function | Visualizes heat loss and insulation issues | Measures overall building airtightness |
| Data Type | Qualitative (visual thermograms) | Quantitative (e.g., CFM50, ACH50) |
| Detection Strength | Pinpoints exact leak locations | Quantifies total leakage volume |
| Roof Leak Detection | Detects moisture in insulation | Does not directly detect moisture |
| Code Compliance | Not required for compliance | Required for new construction under codes |
| Weather Sensitivity | High; needs ~20°F+ temperature difference | Low; works in most conditions |
| Average Cost | $150–$200 (as an add-on) | $200–$250 (standalone) |
| Test Duration | Varies by building size | About 1.5–2 hours total |
| Equipment Cost | Around $500–$600 for a professional camera | Higher due to calibrated systems |
| Best Use Case | Identifying hidden leaks and moisture issues | Ensuring code compliance and HVAC sizing |
| Key Limitation | Requires significant temperature differences | Cannot pinpoint individual leak locations |
sbb-itb-8db64ac
When to Use Each Method for Roof and Attic Diagnostics
This section explains when to utilize thermal imaging and blower door tests for diagnosing roof and attic issues. Below, you’ll find the best conditions and practical advice for applying each method effectively.
Thermal Imaging for Visual Leak Detection
Thermal imaging is ideal for uncovering hidden leaks and identifying moisture problems, such as trapped water or areas with insufficient insulation. For the best results, conduct the scan in the early evening on a warm, dry day. As the sun sets, wet insulation retains heat longer than dry materials due to its higher thermal mass, making it stand out on a thermal camera. Even a slight temperature difference of 2 to 4 degrees between wet and dry areas is enough for a sensitive camera to detect issues.
Before starting, close all windows and doors, and run your HVAC system to maximize the temperature contrast between the interior and exterior. This method is especially effective during extreme seasons like winter or summer when natural temperature differences are more pronounced. However, avoid scanning during or right after rain, snow, or heavy dew. Surface moisture can interfere with readings, making it hard to distinguish between external wetness and internal leaks.
While thermal imaging is excellent for visualizing problems, blower door tests provide measurable data to quantify leakage.
Blower Door Tests for Precise Leak Measurement
Blower door tests are essential for meeting new construction codes and are critical for sizing HVAC systems. These tests measure air infiltration rates (e.g., CFM50, ACH50), offering valuable data to assess energy loss and track improvements over time. However, while they reveal how much air is escaping, they don’t pinpoint the exact locations of leaks or detect moisture issues.
Unlike thermal imaging, blower door tests do not rely on temperature differences. Instead, they use mechanical depressurization, making them less dependent on weather conditions. These tests are particularly useful for identifying air leaks around attic hatches, recessed lighting, and vents. Before testing, make sure to shut down combustion appliances to avoid the risk of backdrafting.
When used together, thermal imaging and blower door tests provide the most thorough diagnostic results.
Using Both Methods Together
Combining thermal imaging with blower door tests creates a powerful diagnostic approach. Depressurizing the building with a blower door highlights thermal patterns that reveal air leakage. As the blower door pulls air out of the house, incoming cold air cools nearby surfaces, forming visible "wispy" lines or dark streaks on the thermal camera. These patterns clearly indicate where air is infiltrating.
"Using a blower door(s) to manipulate air pressure within building and an infrared camera to capture the subsequent air movement can be very effective to pinpoint air leakage areas."
– Randy Kiez, Building Science Technician, ATLAS Infrared
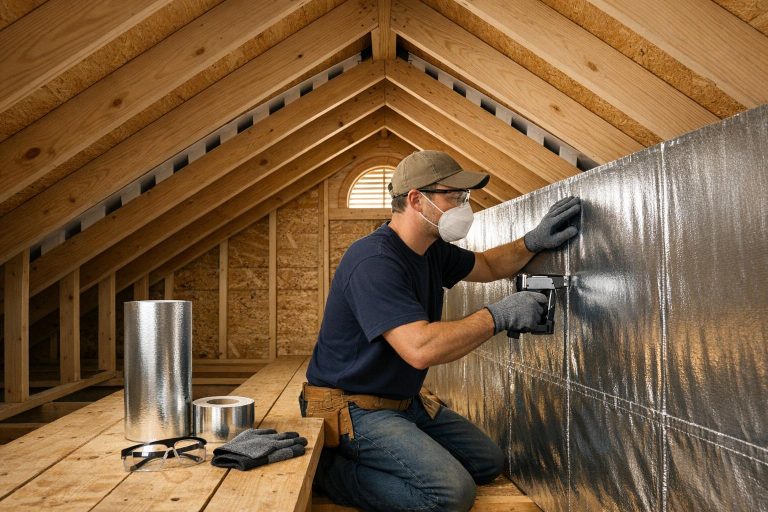
This combined method strengthens the findings of each individual test, offering a complete diagnostic picture that’s invaluable for roof and attic repairs. It’s especially effective for inspecting spray foam applications, where gaps often occur in complex areas like framing corners.
Envirosmart Solution‘s Roof and Attic Leak Detection Services
![]()
Complete Inspection Services
Envirosmart Solution combines blower door tests with thermal imaging to identify leaks with precision. Thermal imaging highlights leaks as distinct dark streaks, while blower door tests measure air leakage in cubic feet per minute (CFM). This real-time data allows technicians to confirm the extent of leaks and verify improvements immediately after repairs are completed.
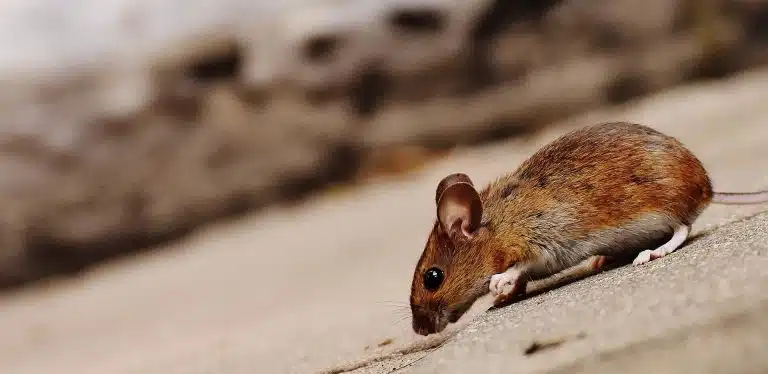
For roof-related concerns, thermal imaging is especially effective. It detects moisture trapped in insulation, revealing hidden roof leaks, breaches in vapor barriers, and early signs of ice dams or potential pipe freezing. These insights help prevent further damage before it escalates. These diagnostic services are part of the CRAWL SPACE & ATTIC CARE™ package, offered at $199 annually. The package includes insulation checks, air gap assessments, rodent inspections, and a 15% discount on any recommended repairs. By combining advanced imaging with mechanical testing, Envirosmart Solution ensures thorough diagnostics for effective roof and attic maintenance.
A standard blower door test typically takes about 1 to 1.5 hours. Homeowners should prepare by moving furniture away from exterior walls and ensuring wood stoves are safely cooled beforehand. This process not only improves diagnostic accuracy but also lays the groundwork for notable energy and cost savings.
Energy Efficiency and Cost Savings
Envirosmart Solution’s precise leak detection services can reduce energy waste by 25%–40%. This helps homeowners optimize HVAC system sizing and take full advantage of available rebates, resulting in both immediate and long-term financial benefits. The company specializes in assisting property owners in securing government, local, and vendor rebates, ensuring energy efficiency upgrades are as cost-effective as possible.
Accurate diagnostics also play a key role in ensuring heating and cooling systems are properly sized through detailed heat-load calculations. This prevents oversized systems that waste energy and undersized systems that underperform. For those investing in upgrades like new insulation or windows, pre-installation testing ensures all air gaps are sealed, maximizing the effectiveness of these improvements.
Conclusion
Thermal imaging and blower door tests work hand-in-hand to diagnose issues in your roof and attic. While blower door tests measure your home’s overall airtightness in cubic feet per minute, thermal imaging provides a visual map of where heat is escaping, insulation is insufficient, or moisture is present.
"Using a blower door with an infrared camera is an incredibly easy way to locate air leaks." – Paul Cutting, Energy Planner
Professional diagnostics are essential, as air leaks can account for 25% to 40% of the energy used for heating and cooling in an average home. By combining these methods, you can identify problem areas, measure their impact, and confirm the effectiveness of any repairs. Together, they offer a comprehensive approach to tackling energy inefficiencies.
For homeowners in the Pacific Northwest, Envirosmart Solution offers a CRAWL SPACE & ATTIC CARE™ package for $199 annually. This service combines blower door testing with thermal imaging to pinpoint roof leaks, insulation gaps, and air infiltration pathways. Their technicians also provide immediate feedback on the improvements achieved after repairs.
Accurate testing not only ensures your HVAC system is properly sized but also helps maintain healthy indoor air quality while reducing energy waste. Envirosmart Solution further assists homeowners in accessing government, local, and vendor rebates, making energy-saving upgrades more affordable.
If you’re dealing with drafts, rising energy bills, or suspect moisture issues in your attic, scheduling a professional inspection can give you the clarity you need to make lasting improvements to your home’s thermal performance.
FAQs
Which test should I schedule first?
Start with a thermographic inspection (thermal imaging). This method visually identifies areas with heat loss and air leaks without compromising your home’s airtightness. Once that’s done, conduct a blower door test to measure your home’s overall airtightness and pinpoint specific problem areas. By combining these two approaches, you get both a clear visual of the issues and accurate measurements, making it easier to prioritize sealing and energy efficiency upgrades.
Will these tests find roof leaks or just air leaks?
Both tests are useful for detecting leaks, but they serve different purposes. Thermal imaging is great for spotting heat loss and moisture, making it particularly helpful for identifying roof leaks – especially on flat or commercial roofs. On the other hand, blower door tests focus on finding air leaks in the building’s envelope. When used together, these methods can accurately locate specific leaks, including those in roof areas, tackling both energy loss and moisture problems efficiently.
How should I prepare my home for a blower door test?
To get ready for a blower door test, make sure to close and seal all exterior doors, windows, attic hatches, and fireplace dampers. Turn off or seal any exhaust fans, bathroom fans, and combustion air vents. If the test includes the garage, close the garage doors as well. Additionally, disconnect any ventilation systems. These steps help create a controlled environment, allowing for precise measurements of air leakage and assessing your home’s energy efficiency.