When deciding between encapsulation and insulation for your crawl space, it boils down to your home’s specific needs:
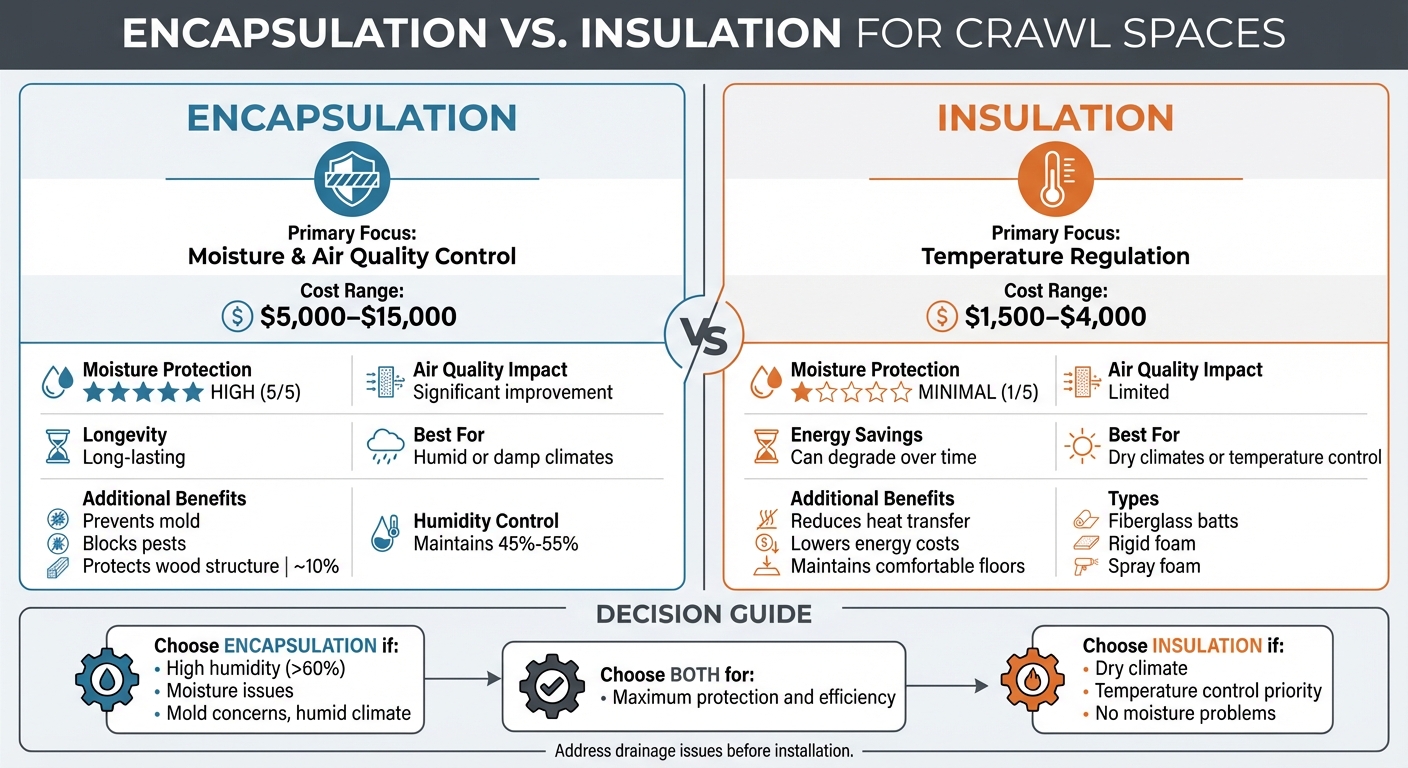
- Encapsulation: Best for managing moisture, improving air quality, and protecting your home’s structure. It involves sealing the crawl space with a vapor barrier, often paired with a dehumidifier, to maintain humidity levels between 45%-55%. Costs range from $5,000 to $15,000 but offer long-term benefits like energy savings and structural protection.
- Insulation: Focuses on temperature control by reducing heat transfer. Options like fiberglass batts, rigid foam, or spray foam help lower energy costs and maintain comfortable indoor temperatures. Costs are typically lower, around $1,500 to $4,000, but it doesn’t address moisture issues.
Quick Comparison
| Factor | Encapsulation | Insulation |
|---|---|---|
| Primary Focus | Moisture and air quality control | Temperature regulation |
| Cost | $5,000–$15,000 | $1,500–$4,000 |
| Moisture Protection | High | Minimal |
| Air Quality Impact | Significant improvement | Limited |
| Longevity | Long-lasting | Can degrade over time |
| Best For | Humid or damp climates | Dry climates or temperature control |
If moisture is a major concern or you live in a humid region, encapsulation is the better choice. If your crawl space is dry and your main goal is temperature regulation, insulation may be needed. For the most effective solution, consider combining both methods. Always address drainage or standing water issues first, and consult a professional for a detailed assessment.
Crawl Space Encapsulation vs Insulation Comparison Chart
Crawl Space Encapsulation vs Insulation | Foam University
![]()
sbb-itb-8db64ac
What is Crawl Space Encapsulation?
Crawl space encapsulation is a process that transforms a damp, unprotected crawl space into a dry, controlled environment. Instead of leaving exposed soil and open vents, this method involves sealing the area with heavy-duty polyethylene that’s customized to fit your space. This barrier helps block moisture from entering your home, creating a well-protected space free from outside contaminants and dampness.
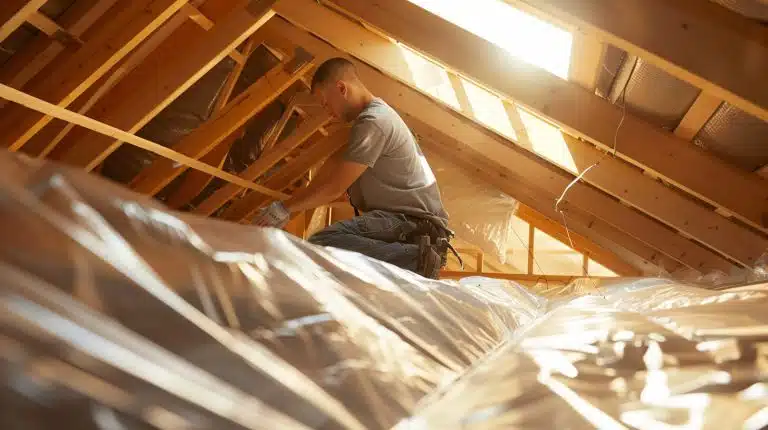
How Encapsulation Works
The process starts with a thorough inspection and cleanup of the crawl space. Professionals remove water, mold, pests, and debris to prepare the area. Next, they seal foundation vents and any gaps around pipes to prevent outside air and humidity from entering. A polyethylene barrier is then laid across the floor and walls, with seams overlapping by six inches and securely taped to form a continuous seal. For added insulation, rigid foam or spray foam may be applied to walls and rim joists. To control humidity levels, a dehumidifier is installed, keeping the space between 45% and 55% humidity. If water intrusion is an issue, a sump pump may also be added.
This process not only protects the crawl space but also delivers several practical benefits for homeowners.
Benefits of Encapsulation
Encapsulation helps prevent mold, allergens, and other issues while improving air quality and energy efficiency. By blocking ground moisture and humid outdoor air, it reduces the conditions that lead to mold growth and wood rot. Encapsulation can lower energy consumption by up to 20%, thanks to improved insulation, and it creates a sealed environment that keeps out pests like termites, rodents, and insects. Additionally, it protects wooden beams from warping, rotting, or sagging. Homeowners may even see their property’s resale value increase by about 10% after encapsulation.
When to Choose Encapsulation
If your home has musty odors, damp soil, or high humidity levels (above 60%) that affect indoor air quality, encapsulation may be the right choice. It’s particularly useful in humid regions, such as the Pacific Northwest. Signs like wood rot, softened joists, or sagging floors also indicate that your crawl space could benefit from sealing. Encapsulation can also make a big difference for households with residents sensitive to mold or allergens, as it significantly improves indoor air quality.
Before starting the process, it’s essential to address any drainage problems, standing water, or grading issues to ensure the new liner remains effective. Additionally, make sure gas appliances have proper fresh-air intakes to avoid safety concerns. If your home is in a FEMA-designated flood zone, consult a professional before sealing vents, as proper venting may be necessary to protect the foundation during floods.
Once you’ve addressed these factors, consider comparing encapsulation with traditional insulation methods to find the best fit for your home’s needs.
What is Traditional Insulation?
Choosing the right insulation for your crawl space is essential for creating a comfortable and energy-efficient home.
Traditional crawl space insulation acts as a thermal barrier, minimizing heat transfer between your home and the ground below. Unlike encapsulation, which focuses on moisture control, traditional insulation is primarily about managing temperature. These materials either trap or reflect heat, helping to keep your floors comfortable and reducing the strain on your HVAC system. In fact, up to 20% of a home’s energy loss can come from a poorly insulated crawl space.
Types of Crawl Space Insulation
There are several options for insulating a crawl space, each with its own strengths:
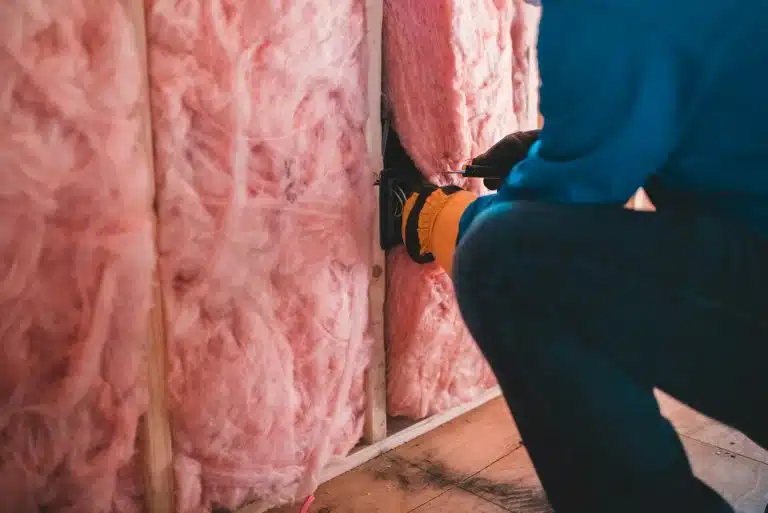
- Fiberglass batts: This is the most common and budget-friendly option. Designed to fit between floor joists, fiberglass batts trap air to resist heat transfer. However, they can absorb moisture and promote mold growth in damp environments, making them unsuitable for unsealed or humid crawl spaces.
- Rigid foam boards: Materials like Extruded Polystyrene (XPS) and Polyisocyanurate provide strong thermal resistance and moisture protection. Polyisocyanurate, in particular, offers the highest R-value per inch among rigid foam options. These boards are typically installed on foundation walls in unvented crawl spaces, leaving a 3-inch gap at the top for termite inspections as required by building codes.
- Spray foam: This option combines insulation and air sealing in one application. Closed-cell spray foam is especially effective on rim joists and around gaps, creating an airtight seal that blocks both drafts and moisture. While more expensive than fiberglass and requiring professional installation, it offers excellent moisture resistance .
- Reflective radiant barriers: These foil-faced materials reflect up to 97% of radiant heat and often include bubble or foam layers to reduce conductive heat transfer. They work best in warmer climates, where radiant heat from the ground is a bigger concern.
Each material has its own advantages, and the right choice depends on your specific needs and conditions.
Benefits of Insulation
Properly installed insulation can cut heating and cooling costs by up to 20%. It helps maintain consistent floor temperatures, reducing cold spots and lightening the load on your HVAC system.
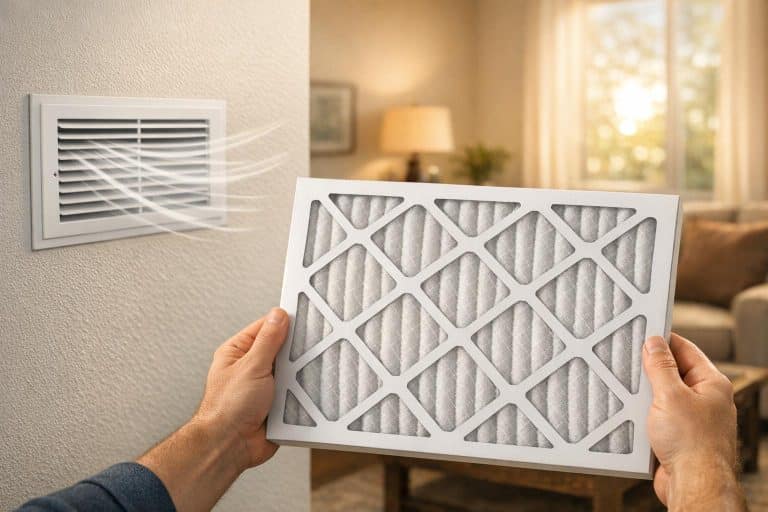
Beyond temperature control, insulation can improve indoor air quality by sealing gaps that allow dust, allergens, and pests to enter. It also helps control moisture, reducing the risk of mold growth by as much as 60%. According to the U.S. EPA, keeping indoor humidity between 30% and 50% is ideal for preventing mold.
Insulation also protects your home’s structure. By preventing condensation on wooden floor joists and subflooring, it helps guard against wood rot and decay. Some materials, like spray foam, even deter pests from nesting in the crawl space.
When to Choose Insulation
If temperature control is your primary concern, insulation is often the best solution.
In dry climates or vented crawl spaces without significant humidity issues, insulation alone is usually sufficient. Recommended R-values depend on your climate zone: R-13 to R-19 for the South (Zones 1–3), R-19 to R-25 for the Mid-Atlantic and Midwest (Zones 4–5), and R-25 to R-30 for the North (Zones 6–8).
Signs that your crawl space may need better insulation include floors that feel 10°F to 15°F colder than the rest of your home or unexplained energy bill increases of 15% to 25%. Insulation is especially important if your HVAC ducts run through the crawl space, as it prevents conditioned air from losing temperature before reaching your rooms.
For the best results, seal all air leaks and crawl space vents before installing insulation. Pay special attention to sealing around pipes, wires, and rim joists to block drafts and maximize efficiency. If your crawl space has high humidity or persistent moisture issues, you might need to combine insulation with encapsulation for a more comprehensive solution.
Encapsulation vs. Insulation: Side-by-Side Comparison
Now that we’ve defined both solutions, let’s dive into how they stack up against each other.
Comparison Table
| Factor | Traditional Insulation | Crawl Space Encapsulation |
|---|---|---|
| Primary Goal | Thermal resistance (R-value) | Moisture and air-leakage control |
| Cost | Lower upfront cost | $5,000 to $15,000 |
| Moisture Protection | Minimal; may trap moisture | High; seals out ground and air moisture |
| Air Quality | Little to no impact | Improves indoor air quality by blocking mold and pests |
| Longevity | Can degrade or sag over time | Long-lasting; helps protect structural wood |
| Climate Suitability | Best for dry, stable climates | Essential for humid or damp regions |
Pros and Cons of Each Option
The table above gives a quick overview, but let’s break down the strengths and limitations of each approach.
Traditional insulation is a cost-effective way to keep your floors warmer and reduce energy bills, especially in drier climates. However, it doesn’t address moisture problems. Over time, it can sag, degrade, or even trap moisture, reducing its effectiveness.
Crawl space encapsulation, on the other hand, creates a robust barrier against moisture, soil gases, and pests. This method not only protects the structural integrity of your home but also enhances indoor air quality and can boost your property’s value by around 10%. The downside? It requires a higher upfront investment and some ongoing upkeep, like managing dehumidifier settings to maintain humidity levels between 45% and 55%.
When to Use Both Solutions Together
In some cases, combining both methods offers the best results for crawl space management.
Encapsulation provides a moisture barrier, while adding wall insulation – such as rigid foam or spray foam – helps maintain consistent temperatures. Together, they tackle both moisture and thermal efficiency, creating a clean, dry environment often referred to as a "protected, dry zone." This approach minimizes energy loss and moisture issues, offering a comprehensive solution.
By reducing thermal leaks and keeping your crawl space free from dampness, you’ll ease the workload on your HVAC system, potentially saving hundreds of dollars annually on energy costs. Plus, the space becomes usable for seasonal storage, unlike a vented crawl space.
Before combining these solutions, it’s crucial to address any standing water first. Installing a sump pump or French drain can prevent water from pooling under the liner. And if your crawl space houses gas appliances like a furnace or water heater, ensure there’s a dedicated fresh-air intake to prevent carbon monoxide buildup. While a full encapsulation project with insulation can cost between $5,000 and $15,000, the long-term benefits – energy savings, structural protection, and added home value – make it a worthwhile investment.
How to Evaluate Your Home’s Needs
Before diving into any crawl space upgrades, it’s important to figure out what your home truly needs. Start by examining your crawl space conditions. This will help you decide whether moisture control (which leans toward encapsulation) or improving thermal performance (which favors insulation) should be your focus.
Inspect Your Crawl Space Conditions
Grab a flashlight and take a close look at your crawl space. Pay attention to signs like standing water after heavy rain – this often means you’ll need better drainage solutions, like a sump pump or French drain, before tackling insulation or encapsulation. Check for mold on wood surfaces, as this points to ongoing moisture problems that insulation alone won’t solve. If your floors feel soft or creaky, it could signal wood damage caused by dampness.
Keep an eye out for rodent activity, too. Tunnels in the soil or nests in existing insulation suggest pests might have taken up residence. Use a hygrometer to measure humidity levels on your main floor – readings over 60% could indicate crawl space issues. And don’t ignore musty smells; they might mean mold spores are affecting your indoor air quality, requiring professional crawl space cleaning.
Once you’ve identified any moisture or pest problems, think about how your local climate and budget might influence your decision.
Factor in Climate and Budget
Your location makes a big difference when deciding on a solution. For example, in the Pacific Northwest, heavy rainfall often makes encapsulation a must to control ground moisture and protect your home’s structure. While traditional insulation might seem cheaper upfront, it can degrade quickly in damp environments, leading to more repairs down the line. Encapsulation, though more expensive – typically ranging from $5,000 to $15,000 – addresses moisture, air quality, and even structural concerns. If you’re in the Pacific Northwest, check out PSE rebates through certified contractors to help offset the cost of insulation upgrades.
Get a Professional Inspection
While a DIY inspection can spot obvious issues, professionals can uncover hidden problems like tight spaces, unseen water leaks, or structural damage. They’ll also document everything with photos and provide detailed, itemized bids for the necessary work. After evaluating your crawl space and factoring in climate and budget, a professional inspection can give you a clearer picture of what’s needed.
"Your crawl space is critical to your home’s safety and efficiency." – Northwest Crawl Space Services
Envirosmart Solution offers thorough crawl space inspections across the Pacific Northwest. Their experts can navigate hard-to-reach areas, determine whether encapsulation, insulation, or a mix of both is the best approach, and guide you through rebate opportunities. By starting with a professional evaluation, you can make smarter choices, avoid costly mistakes, and ensure your investment pays off in the long run.
How Envirosmart Solution Can Help
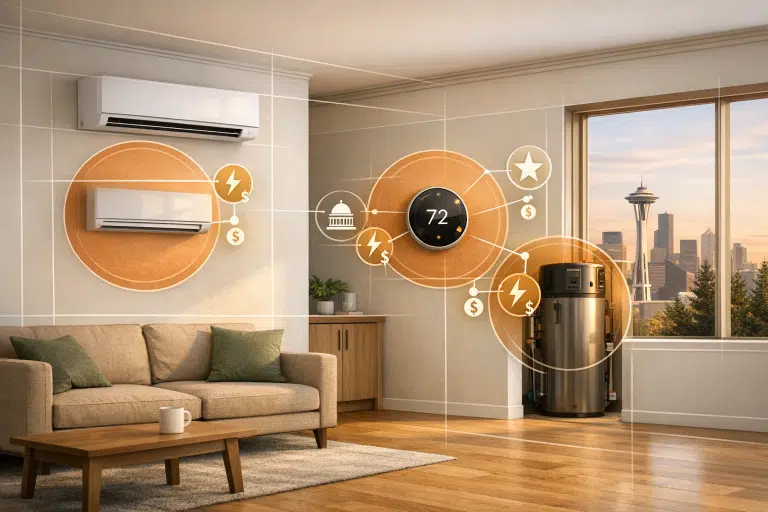
![]()
Once your crawl space has been evaluated, it’s time to implement expert solutions that address both moisture control and thermal efficiency. With over 15 years of experience and more than 6,428 projects completed, Envirosmart Solution specializes in providing a full range of crawl space, attic, and HVAC services across the Pacific Northwest.
Complete Crawl Space Services
Envirosmart Solution takes a streamlined, all-inclusive approach to crawl space projects. Their in-house team handles everything from crawl space cleaning and mold remediation to vapor barrier installation, insulation upgrades, and rodent-proofing. If your home needs a combination of moisture control and thermal improvements, they can install encapsulation systems alongside insulation and suggest additional measures like air duct sealing, radiant barriers, or HVAC upgrades to boost energy efficiency.
"Envirosmart Solution simplifies your home’s heating and cooling needs with a one-stop-shop approach. Our all-in-one service model saves you time, money, and the hassle of coordinating multiple contractors." – Envirosmart Solution
Their bundled service packages include discounts and come with a free, detailed inspection complete with photos. This comprehensive approach not only saves money upfront but also ensures long-term maintenance and energy savings.
Help with Rebates and Incentives
Crawl space upgrades can be a significant investment, but Envirosmart Solution helps reduce costs by navigating available rebates and incentives. They assist homeowners in accessing savings through programs like the Inflation Reduction Act (IRA) Home Energy Rebate Programs and the Home Electrification and Appliance Rebates (HEAR) program, which offers point-of-sale discounts for insulation and air sealing. Additionally, they provide guidance on qualifying for performance-based incentives under the Home Efficiency Rebates (HER) program.
"Our knowledge of state and federal programs allows customers to maximize their savings on energy efficiency upgrades." – Envirosmart Solution
Annual Maintenance Packages
Maintaining your upgrades is essential to preserving energy efficiency and indoor air quality. Envirosmart Solution offers annual maintenance plans to keep your home in top condition. For $199 per year, the CRAWL SPACE & ATTIC CARE™ plan includes regular inspections and a 15% discount on recommended services. For more comprehensive coverage, the SMART GOLD™ package, priced at $699 annually, includes inspections, dryer vent and air duct cleaning, furnace service, and a 20% discount on additional work.
These packages are designed to catch minor issues early, preventing costly repairs and protecting your investment for years to come.
Making Your Decision
Weighing Long-Term Costs and Benefits
When deciding between traditional insulation and crawl space encapsulation, it’s essential to think beyond just the upfront cost. Traditional insulation typically costs between $1,500 and $4,000, while full encapsulation ranges from $5,000 to $15,000, averaging around $5,500. Yes, encapsulation has a higher initial price tag, but it offers long-term advantages that can make it worthwhile. These include better energy efficiency, protection against structural damage caused by wood-rotting fungi, and even a boost to your home’s value. Plus, sealing your crawl space can keep pests out and reduce the strain on your HVAC system, which might save you hundreds of dollars annually on utility bills. If your home is already showing crawl space issues, encapsulation doesn’t just cover up the symptoms – it tackles the underlying problems. That’s why getting a professional assessment is so important for making the right choice.
"An encapsulated crawl space indicates that your home has been well-maintained and is less likely to harbor moisture or mold." – Casey Morgan, Home Loan Expert
Book Your Inspection with Envirosmart Solution
Once you’ve considered the costs and benefits, the next logical step is scheduling a professional inspection. This is the most reliable way to figure out what your home needs. Envirosmart Solution provides free, comprehensive evaluations, complete with photos that detail moisture levels, structural conditions, and opportunities to improve energy efficiency. Their certified contractors can also help you access utility rebates and incentives to offset your costs.
Visit https://envirosmartsolution.com to book your free inspection. You’ll get a customized plan, clear recommendations, and financing options to help you create a healthier, more energy-efficient home.
FAQs
How can I tell if my crawl space has a moisture problem?
To spot moisture issues in your crawl space, start by checking indoor humidity levels. Ideally, humidity should range between 30-50%, while anything over 60% suggests excess moisture. Look for warning signs like peeling paint, discoloration, or damage on ceilings, joists, or stairs. Don’t forget to inspect the floor for any cracks and confirm that the sump pump and floor drain are functioning correctly. If you notice high humidity, mold, or visible water damage, these are clear signs of a moisture problem that needs attention.
Will encapsulation affect my home’s ventilation or gas appliances?
Encapsulating your crawl space can interfere with your home’s ventilation and the performance of gas appliances by limiting airflow. When you seal a crawl space, you cut off the exchange of fresh air, which can lead to stale air and reduced indoor air quality.
This becomes especially concerning for atmospheric-vented gas appliances, which rely on proper airflow to function safely. Without enough ventilation, the risk of dangerous conditions – like carbon monoxide buildup – can increase significantly. To prevent these issues, it’s crucial to ensure that adequate ventilation is maintained even after encapsulation.
What should be fixed before I insulate or encapsulate a crawl space?
Before you insulate or encapsulate a crawl space, it’s important to tackle any existing problems first. Start by checking for and resolving moisture issues, mold, pest infestations, and air leaks. Remove any old insulation, seal the ducts, and make sure the space is properly ventilated. Adding a dehumidifier is another key step to keep humidity levels in check. Taking these precautions can help you avoid problems down the road, such as mold, wood rot, or pests.