Although a fair share of the houses in the US have a crawl space, it still remains one of the most overlooked parts of a property. This is a shame as if a problem arises in the crawl space, such as moisture and mold or pests, it might affect the whole house, often leading to costly repairs that could’ve been avoided with regular maintenance of the space.
But what if you can’t do that for whatever reason, be it health or other? In that case, you might consider encapsulating the crawl space. While it won’t fully substitute taking care of that part of your house, it might make it easier to protect it from developing certain issues. But what is it, and how can you do it on your own? Should you even be encapsulating a crawl space on your own? That’s what we’ll be talking about in this article.
What Is Crawl Space Encapsulation
The name already reveals it a little, but crawl space encapsulation is the process of adding a heavy-duty polyethylene barrier to its walls and floor (and sometimes also ceiling), creating a sort of capsule and preventing moisture from entering the crawl space.
Benefits of an Encapsulated Crawlspace
If you’re wondering why you would even bother with encapsulating crawl space, there are quite a few reasons why you might want to consider crawl space encapsulation.
One of the main reasons why property owners decide to encapsulate their crawl space is to prevent serious issues from developing, such as mold or pest infestation. Those who have had it happen to their home know that getting rid of them completely is not only time-consuming but also quite costly. And while it might not completely eliminate the possibility of those things happening to your home, the chances are definitely much lower with an encapsulated space.
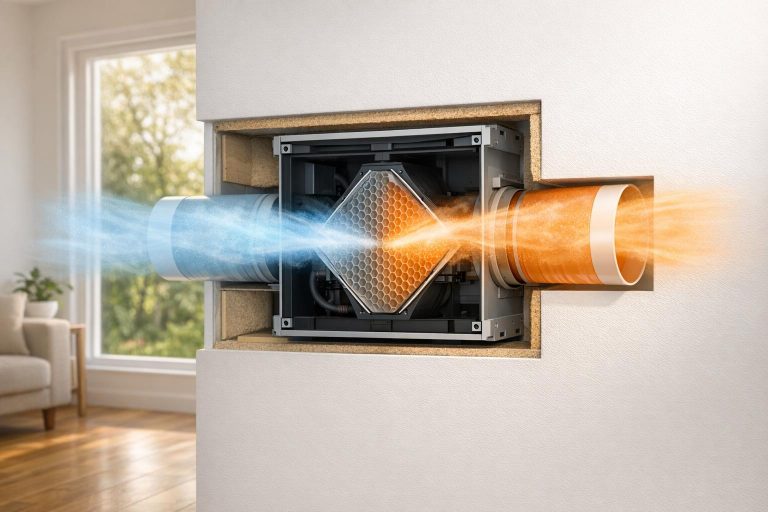
Another thing worth mentioning is that encapsulation can help in improving the air quality and creating a more comfortable environment in your home – that’s because things like moisture or outdoor pollutants that negatively impact the indoor air will have a harder time entering it through the crawl space. Additionally, heat loss will be reduced, which is especially helpful during the cold winter months.
Finally, encapsulating your crawl space might help reduce your electricity bills. With cleaner air and less heat lost, your HVAC system will not have to work as hard to provide the same results, therefore using less energy.
So, now that you know the WHYs, let’s move on to the HOWs.
How to Encapsulate a Crawl Space
Truthfully, the best idea would be to hire a professional. Most crawl spaces are small – they certainly live up to their name, as in the majority of cases, there’s just about enough space for you to crawl – and navigating in such small areas is not only uncomfortable but can also be dangerous if you don’t wear protective gear.
Also, you will more than likely need help, so if maneuvering a crawl space is hard enough on your own, it would be even more uncomfortable with two or more people there.
Still, if you want to tackle the task on your own, here’s a step-by-step instruction on how to seal crawl space in your home.
- Examine the crawl space. The first step in encapsulating the crawl space is making sure that it is in pristine condition, meaning there are no cracks, mold, leaks, or anything else that, in the long run, can turn out to be problematic. If you find rotten wood, replace it. Anything that can be considered a defect should be fixed before you install the moisture barrier.
- Clean the crawl space. Once you make sure everything’s fine with the crawl space, it’s time to clean it and get rid of any debris in there.
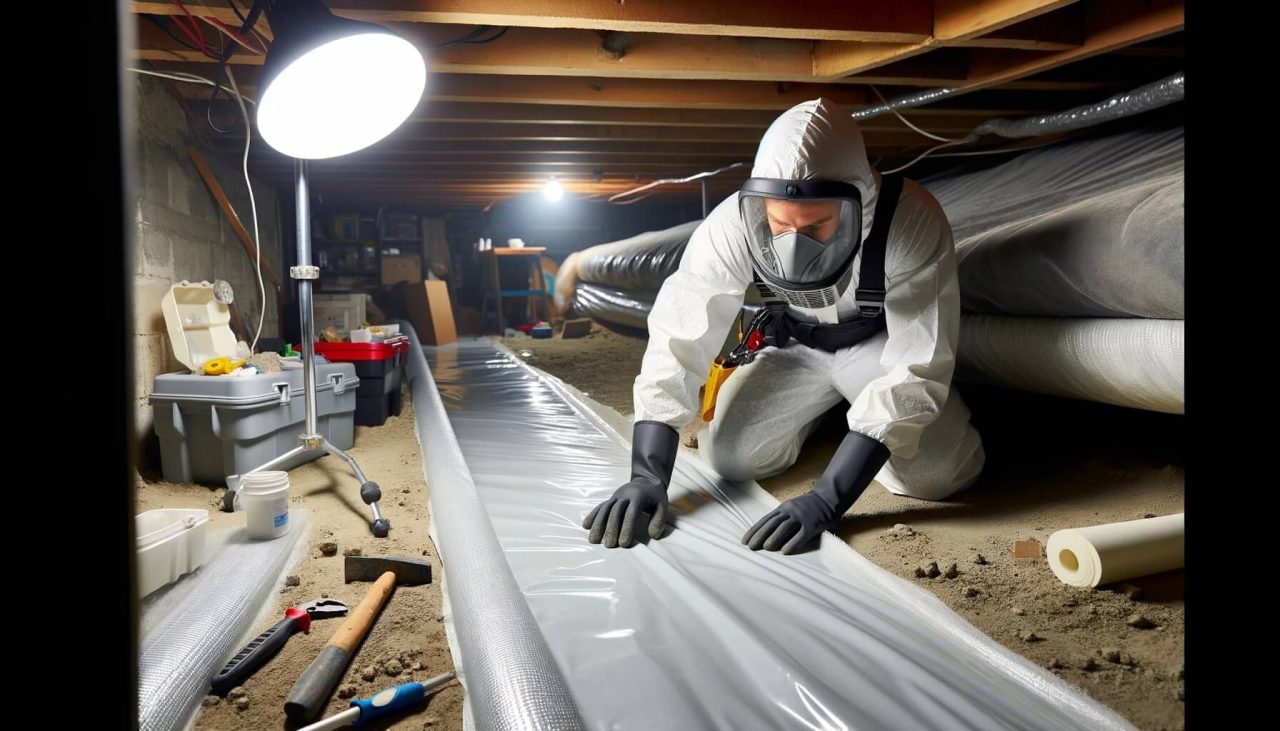
- Prepare the moisture barrier in the crawl space and remove the previous one. Depending on whether you already had a moisture barrier in your crawl space, you might also have to remove the previous one. Measure your crawl space so that you know how to cut the barrier material. Keep in mind to always increase the measurement by an inch or two so that there’s room for overlap and sealing.
- Install the barrier. Once your material is cut and ready, it’s time for the installation. The typical order is walls, then ceiling, then floor with special attention being paid to floor joists. Attach the barrier with sealing tape and fasteners.
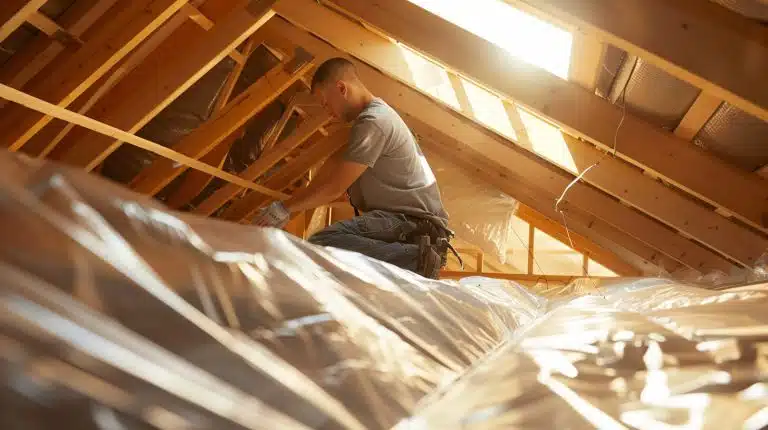
- Insulate the crawl space. While this step is an option, it’s good to insulate the crawl space after the encapsulation to prevent heat loss.
- Add a dehumidifier. Another optional, but nonetheless worth considering step is adding a dehumidifier, which will help in controlling the humidity level of your crawl space and keeping it dry.
The Dos and Don’ts of Crawl Space Encapsulation
Here are a few things you should remember about when you encapsulate crawl space so that everything goes as smoothly as possible.
Dos
- Clean the crawl space. Remember to clean any debris and remove mold before starting any actual crawl space sealing work.
- Choose the right materials. The materials you choose are crucial when it comes to how long the sealed crawl space will remain moisture-free.
- Consider installing a drainage system. If your house is located somewhere it isn’t uncommon for water to seep into the house, think about installing a drainage system, as encapsulation, while helpful, might not be enough on its own.
- Conduct a safety examination. Examine your combustion appliances to make sure there isn’t a carbon monoxide leak.
Don’ts
- Don’t encapsulate the space before sealing the gaps. If there are any gaps in your foundation through which air or water can make its way into the crawl space, the barrier won’t be as effective as it could be.
- Don’t rush. Take your time to ensure that everything is done as precisely as it can, as rushing the process can result in mistakes that will lower the efficiency of the encapsulation.
- Don’t forget the inspection. We’d argue that inspecting the crawl space is one of the most important if not the most important part of the process, as if the crawl space is damaged, the crawl space sealing won’t be effective.
- Don’t overlook getting professionals to do the job. If you don’t have experience in doing such work or if you’re not confident in your skills, hire a professional. Otherwise, if you do it incorrectly, you might have to hire someone anyway, creating unnecessary costs.
The Bottom Line
With that being said, we have reached the end of our crawl space encapsulation guide. While often overlooked, it’s important to regularly take care of the crawl space, as many serious issues can originate from there, spreading to the rest of the house and requiring you to invest in costly repairs that could’ve been avoided if you only visited that space more often.
Encapsulation is great for preventing moisture from entering the crawl space, but it needs to be done correctly, so if you do decide to take it on as a DIY project, make sure to pay special attention to whatever you do in this regard. Good luck!
Crawl Space Encapsulation – FAQ
How long will crawl space encapsulation take?
It all depends on the state of your crawl space, as well as its size. If it’s in good condition and the only thing that needs to be done is the encapsulation, it shouldn’t take more than a day (two if the space is big). On the other hand, if your crawl space requires repairs and cleaning, it might even take up to a week to finish all the work.
How much does crawl space encapsulation cost?
It depends on several factors, including whether you’re doing the work yourself or hiring a professional, whether you also want to insulate the space and add dehumidifiers, what materials you use, and more. So, it can cost anywhere from a few hundred dollars to thousands of dollars.
What is crawl space remediation?
Remediation is a term used to describe the process of professional mold contamination removal and cleaning of a space, in this case, the crawl space. It is usually done to stop mold from re-developing in the future.
Does an encapsulated crawl space need insulation?
While installing insulation is not really a requirement, it can help you lower electricity bills and keep your home warmer during the colder months, as the heat won’t be escaping as much as without insulation.
Is crawl space encapsulation really necessary?
Yes, we would say so. A fully encapsulated crawl space brings a ton of benefits, not only to yourself but also to your home, with improved air quality and lower chances of mold and pest infestation being just two of them.
What is an encapsulated crawl space?
An encapsulated crawl space is a crawl space where a moisture barrier made from heavy-duty polyethylene has been installed.
What’s the difference between crawl space encapsulation and vapor barrier?
A vapor barrier is another popular option for preventing moisture from entering your crawl space, with the main difference being that while encapsulation involves the whole crawl space, including walls, wood framing, and floor, the vapor barrier is only placed on the floor.